Wednesday, October 19, 2011

Dump Truck Progress

It's been a few weeks since I last posted the blockout screen shots.  Below you can find additional images of where I'm at now in my modeling progress.  Below are some notes:

  • The underside elements will mostly be hidden from view.  At least 60-70% of the objects, particularly those up towards the front of the truck, will mostly be hidden by the frontal elements and the front tires.  The elements more to the middle and those in the rear will have a greater chance at being seen, so those were modeled out more specifically to the reference images.  
  • The underside elements tended to be less involved as the other areas of the truck.  Most of them were created using either box primitives, or the ep curve tool.  
  • The back section which includes the actual rear container was a mess in terms of topology.  I went back in and fixed things up so the flow was a bit better.  I still don't quite like how the edge flow in some areas just pinches into the corners where the loops are responsible for holding the transition and form.  There could still be a few fixes that I should go back and clean up.  But believe me, it's looking worlds better than before!
  • The tires took some time.  I remember Max, my teacher for Hard Surface 2, saying not to worry about treads until a class in which he was going to tell us more about them.  But given the time crunch and the fact that I wasn't sure if I would be able to finish the whole model (plus UV and naming conventions) if I started on the tires later.  So I started now.  I used a technique Mark Dedecker showed me in Hard Surface 1 (involving a plane, cut faces tool to cut the tread details, lots of edge and vertex manipulation, followed by some extrusions.  The tread, the side of the tire, the cap and the cap details are all separate objects.  I may need to go back and fix things up (or worse, start over) depending on the critique I get on them.
  • I also modeled out the different caps.  The outside-front tires had a certain kind of cap, the inside of the tires had a different kind and the outside of the back tires had a third different kind.  Those were very easy and quick to do, involving curves, curve offsets and followed by lofting.
  • The front section was probably the most involved.  The majority of all the elements of the vehicle seemed to be cluttered here.  I won't go naming everything that I modeled and dup'ed, but it's all there. Some things I had to literally approximate and I know of at least 2 pieces I had to really just think up off of the top of my head because there was no reference image that had a close up of those elements.  None.  If they had it,  it was waaaay too blurry to see anything.  I do plan to apply a mesh -> smooth to some of the cylindrical shapes so when they smooth, you'll see less faceting along the edge.
  • Last note is that the driver's box is something I'm very...ikky about.  I don't like how the edges are flowing and there are a lot of edges in very tight areas.  This is a piece I'll be going back to and trying to find a way to get the flow to look better.  The door handle in the side doesn't help the dense topology either.
  • All in all, this entire model is just about to break 1.2 million faces.  
  • My next step, after fixing up a few stray topologys here and there is to UV everything (transferring UVs  when I can) confirming that I have all the smaller bolts on the vehicle, then the arduous task of renaming everything properly.  Renaming should take a day.  UV may take a day or two.  The rest of my time will be spent making sure the topology is as best as I can get it.


Tuesday, September 27, 2011

The Work Continues

Okay, I really think I went beyond the "block-out" stage.  Kinda nervous that I lost myself in the modeling and may have gone too far into the details and the individual pieces when the HW was just blocking it out.  But...well...at this point, whatever happens, happens.  If it's all good then yay!  If not, well... :(.  Anyway, below are several shows of the dump truck.  I've decided to call it here in terms of modeling out the various pieces and placing them properly.  Some were a real pain and took quite a long time (mainly those which the reference images didn't show clearly *sigh*)

I'm...fairly happy with what I've got so far to show in class on Thurs.  As this is the blockout, I didn't make any bevels, nothing is modeled to smooth yet, there are tons of smaller details that I restrained myself from going into in the interest of time, and several pieces are just basic primitives still.  The only complex pieces are the complex shapes of the vehicle that required the use of EP curves and extrusions/lofts/revolves.  One thing th at peeved me was how the details in several of my reference images conflicted with each other and with the image plane images.  It was crazy.  Some details were seen in one reference image that isn't in the others.  I see a detail in the image plane that isn't in the reference images...ugh.  In the end, I just had to make decision calls and go with what I could to keep it looking ok.

Tomorrow, I'm going to spend a bit of time renaming everything properly and also grouping everything logically.  Once that's done, I can h ave some breather before class on Thurs.  Here are the wireframe renders.  Shaded renders are further below.  Again, nothing is smooth-able.  It's all just the block in shapes.  After Thurs I'll be going back in and fixing up every single piece to be smooth-able.


And here are a few shaded renders:


Sunday, September 25, 2011

The Mighty Dump Truck!

Time for another update!  The new term has begun and the first week of classes is over.  As a recap, this term I'm taking Perspective (since it's a prereq for Environment Design and I took it before but couldn't finish due to personal problems), Lighting and Rendering 1 and Hard Surface Modeling 2 with Max Dayan.  All cool classes. No homework in L&R just yet, we only really had an introduction level and a recap of the basics of lighting and rendering.  Perspective started off on the same stuff as before so I'm pretty familiar with all of it and eager to get going on the drawings.

Hard Surface Modeling 2 was...just wow!  Intense.  I am freakin excited about this class.  For the midterm we were able to choose any vehicle that exists in the present day or even any vehicle that used to exist in the past (aka viking ships) as long as it existed at one time or another.  After doing some research I was split between doing a Scania truck, my relative's truck (since I could then take all the reference images I wanted) or a Caterpillar Dump Truck.  I went with the dump truck.  Why?  Well, I wanted something that I know I can do and finish within the allotted time frame at my current skill level.  I felt that the dump truck would be nice.  I was tempted on the excavator, but eventually said, "nah, dump truck works for me."  After collecting all my reference images I got to work!

Today I started to block out the truck.  Now, here's something I noticed.  I think I went beyond the "block out" phase and added in more details in the various parts than I should have.  I probably should have just thrown in cubes and called it. But sometimes...my hands can tend to move without me thinking and because some details as relatively simple to get in, I just had to get them in.  The "block out" is due Thursday.  I have Mon-Wed with no classes to finish up.  Going to try to not get bogged down by details, but...no promises! 


This is actually a poor post since I didn't put in any lights or show any wireframes.  I'll do it tomorrow and post those pictures before continuing on with the block out phase. 

Saturday, September 10, 2011

Texture Painting Final

So this was an interesting project.  I admit that my texturing skills need more work and I have a long way to go.  A couple classmates (Daniel and Hoang! Thanks guys!) were able to give my buildings first texturing pass a good critique and even went further by helping to demonstrate how the overall scene could be improved.  Big thanks to Eric Miller, my teacher in Texture Painting (who I will be seeing again when I take Hard Surface Texturing and Shading) for teaching us all kinds of neat stuff, including headusUV, various Maya MEL scripts, Bodypaint and Crazybump.  Awesome stuff!

Next term classes are already set to go - Perspective, Hard Surface Modeling 2 and Lighting and Rendering 1.  Should be some fun stuff to look forward to!

Monday, August 8, 2011

Matte Painting Final

Today was a fun day.  Got to hang out with one of my classmates from my previous term and we had a good time catching up and also getting some work done for our individual classes.  At his request, you know who you are, I am posting an image shot of my matte painting final that was submitted to my Photoshop for Digital Production class that I took last term.  This was an interesting test of Photoshop skills which required me to use all the various tools including detailed masks, lots of clone stamping, and extracting the right elements from different reference images.  It was a lot of fun to put together.


While it was fun, it was also a rest time sink.  I had to make sure to manage my time wisely with this project and my finals for my other two classes, especially hard surface modeling (which you can view a couple posts down).  But this one, I really wanted it to be decent.  So I worked on it, got a critique in class the week before the submission date, went back, worked more, and it came out relatively good.  There's more to do with it.  I could still add in additional islands, or rocky pillars sticking out of the water, something to spice it up even more and give it a sense of uniqueness.  But this is the state it was in when I submitted it.

Fun stuff!

Friday, August 5, 2011

A Wood Texture with Shiny!

One of my three courses at Gnomon is Texture Painting where I'm learning some awesome stuff.  Just a couple days ago my class teacher, Eric, showed us some incredible stuff in Maxon's Bodypaint 3D.  Needless to say, at the end, I was just blown away.  But anyway, a couple weeks ago we had an assignment to design a texture using Maya's shader nodes.  The key was we (the students) were to create the color, specular and bump map only using 3 texture images (for me - the wood base, a grunge layer and a Yamaha logo image) and the rest were Maya nodes.  I didn't think it was possible until Eric demo'ed it in class and this is some awesome stuff I tell you.

So again, I had a clean, wood texture as my base, brought in a secondary image which I used to add grunge onto the wood, and lastly throwing on a Yamaha "sticker" logo on the wood and breaking it up.  After the color was done, I went into creating the bump and specular maps which really made the texture look damn cool, after several tweaks of course.  After a quick critique, I followed Eric's advice and threw in an eccentricity map as well which really made the texture look even better.  A little more tweaking and here is what I managed to get done.

Saturday, July 30, 2011

Hard Surface Final - Building Scene

Hello again everyone!

At last I have managed to find time to go back and get my screenshots of my final that I submitted last term for my Hard Surface Modeling class.  I enjoyed modeling this a ton.  Several times I just got so into it that time just blew by.  One moment it was 9am, the next, 6pm.  But anyway, it started off with a homework assignment to modeling out the side of a building starting with a single plane and a reference image of the front of a building assigned to it as a material.  Some inserted edges here, a few extrudes there, and magic happens!  The building came out relatively well, I was happy with how it came out.  As I had some additional time on hand, I decided to expand it further by adding in rooftop elements including an hvac unit, solar panels and some other stuff to just populate it.

After which, I had a couple days left before submission so I began to build up a bus stop along with street lamps, London-style.  Turned out nice in my eyes.  There's always more than can be done.  The thing with a scene like this is expansion is almost limitless. 

Total polycount ended up about 650,000 and everything is built to smooth.  Nothing is textured yet and no UVs are laid out.  I'm actually taking a texture painting class this term and I'll be using this scene as the final for the class.  So I will be laying out UVs and texturing it.

This model will be posted on the polycount forums for some critique and if any changes are made, or anything new added, I'll be sure to add updates!  So without further delay, here are some screenshots!


And now for the roof top elements!


And last but not least, the bus stop, complete with street lamp and trash can!  Woohoo!


This was some major fun stuff to create.  I love modeling in Maya!  For the ground plane, which isn't visible in the above screenshots, I'll be attempting to bring it into ZBrush and creating some detail there.  It's taking me a while to learn ZBrush, I find it to be more difficult to pick up than it was for Maya, but man is that one powerful software.  Must...practice....more!!

Wednesday, July 6, 2011

Hello to All!

Hey hey!

Nice to meet whoever you are!  Thanks for visiting my blog.  I am Gabe and this is where I will be posting up images of any and all 3d models that I create using Maya, ZBrush, textures made in Photoshop, and other fascinating and wonderful thingies that I make. 

The About Me at the right side pretty much sums me up in a sentence or two.  Let me expand a little more to take up more space and more of your time!

So, I come from a business and engineering background!  In fact, I graduated from San Jose State with a bachelors in Business Administration, emphasis in Management Information Systems.  After working for a while, I decided, after a ton of deep contemplation, that I wanted to change my career.  I wanted something more flashy, more colorful, and in the end, something that I would love to do...and hey!  I love games!  So why don't I start making games?  Sure, people say liking to play games and liking to make games are two separate things entirely and sure, that is indeed true!

But guess what?  I found out that I freakin love to model and texture!  I self taught myself 3ds Max and Photoshop for a year before finding and enrolling into Gnomon's School of Visual Effects, which in turn, caused me to move from the San Francisco Bay Area, to Hollywood!  Man, what a change I tell you!

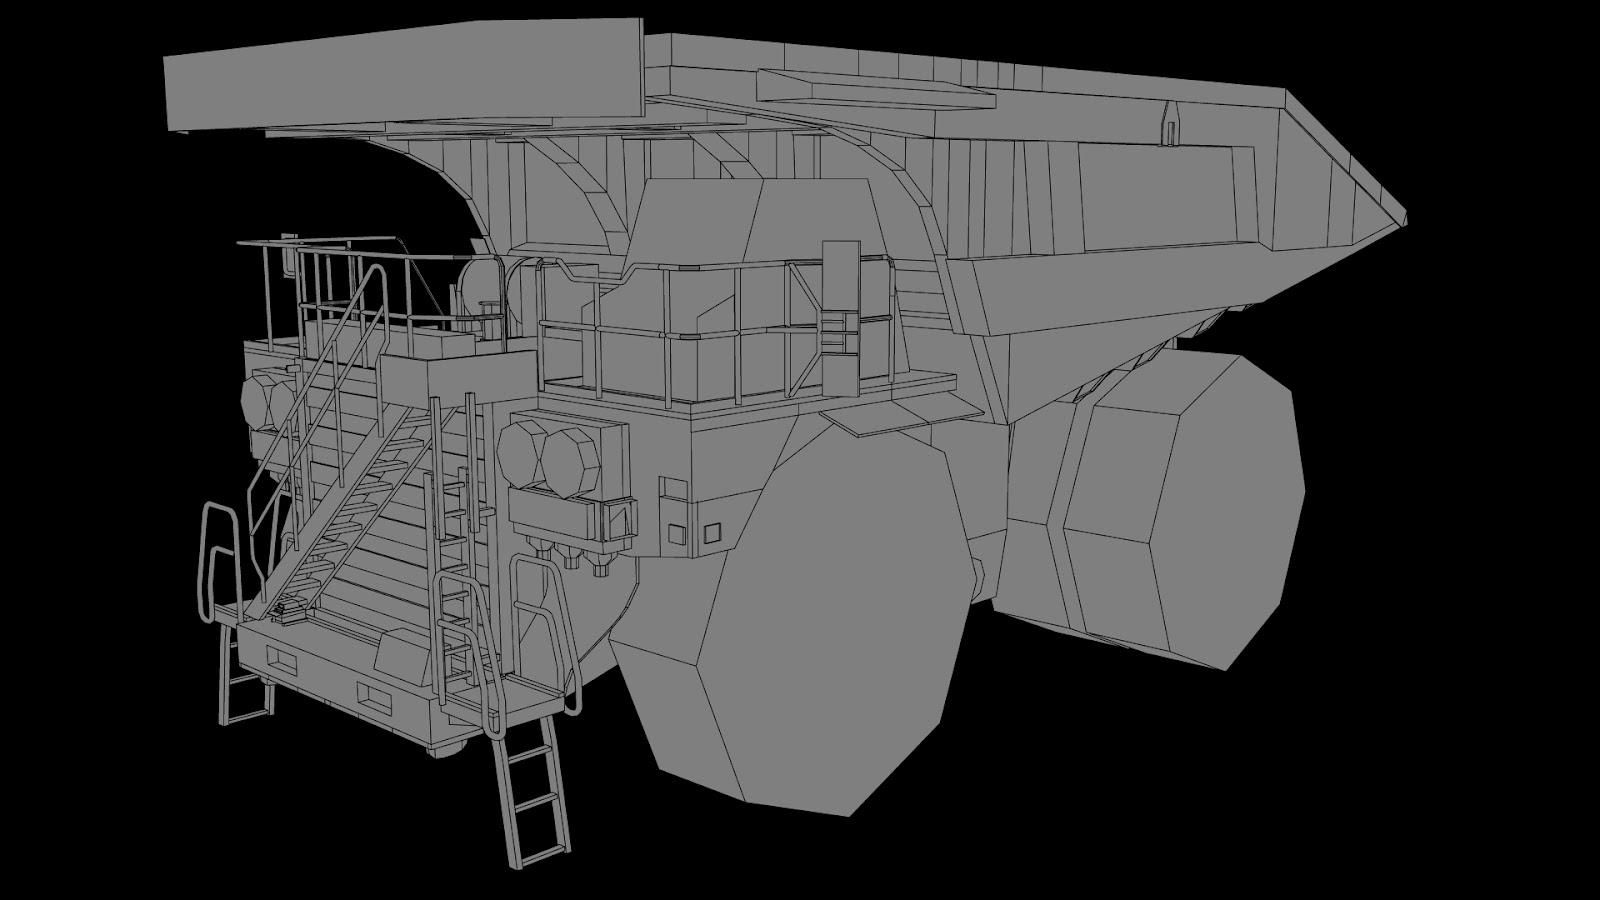
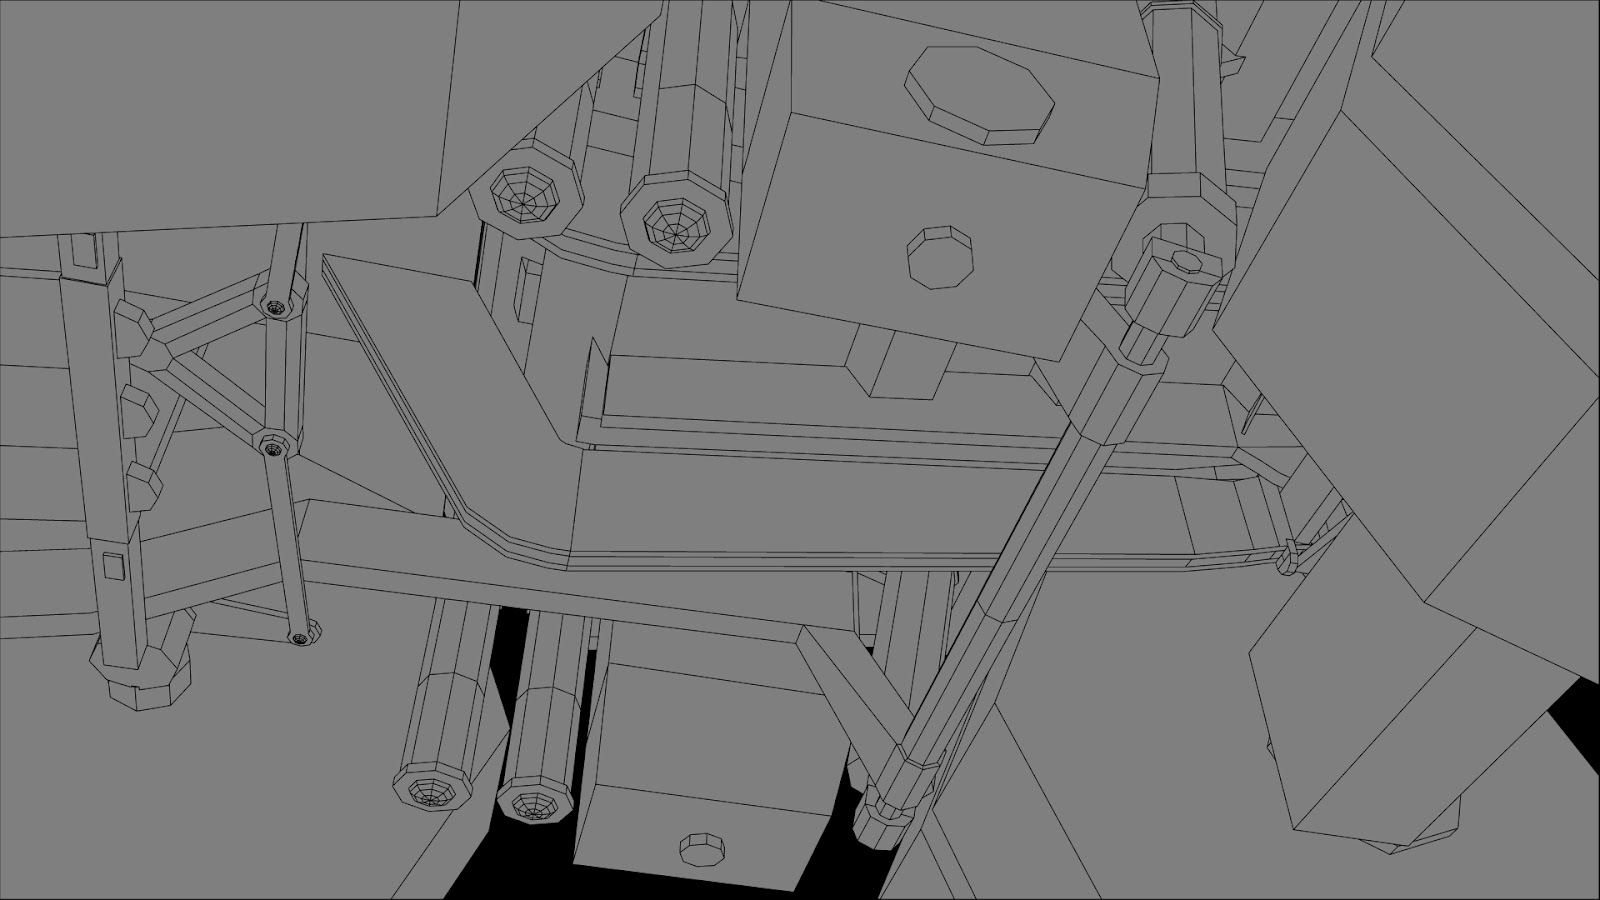
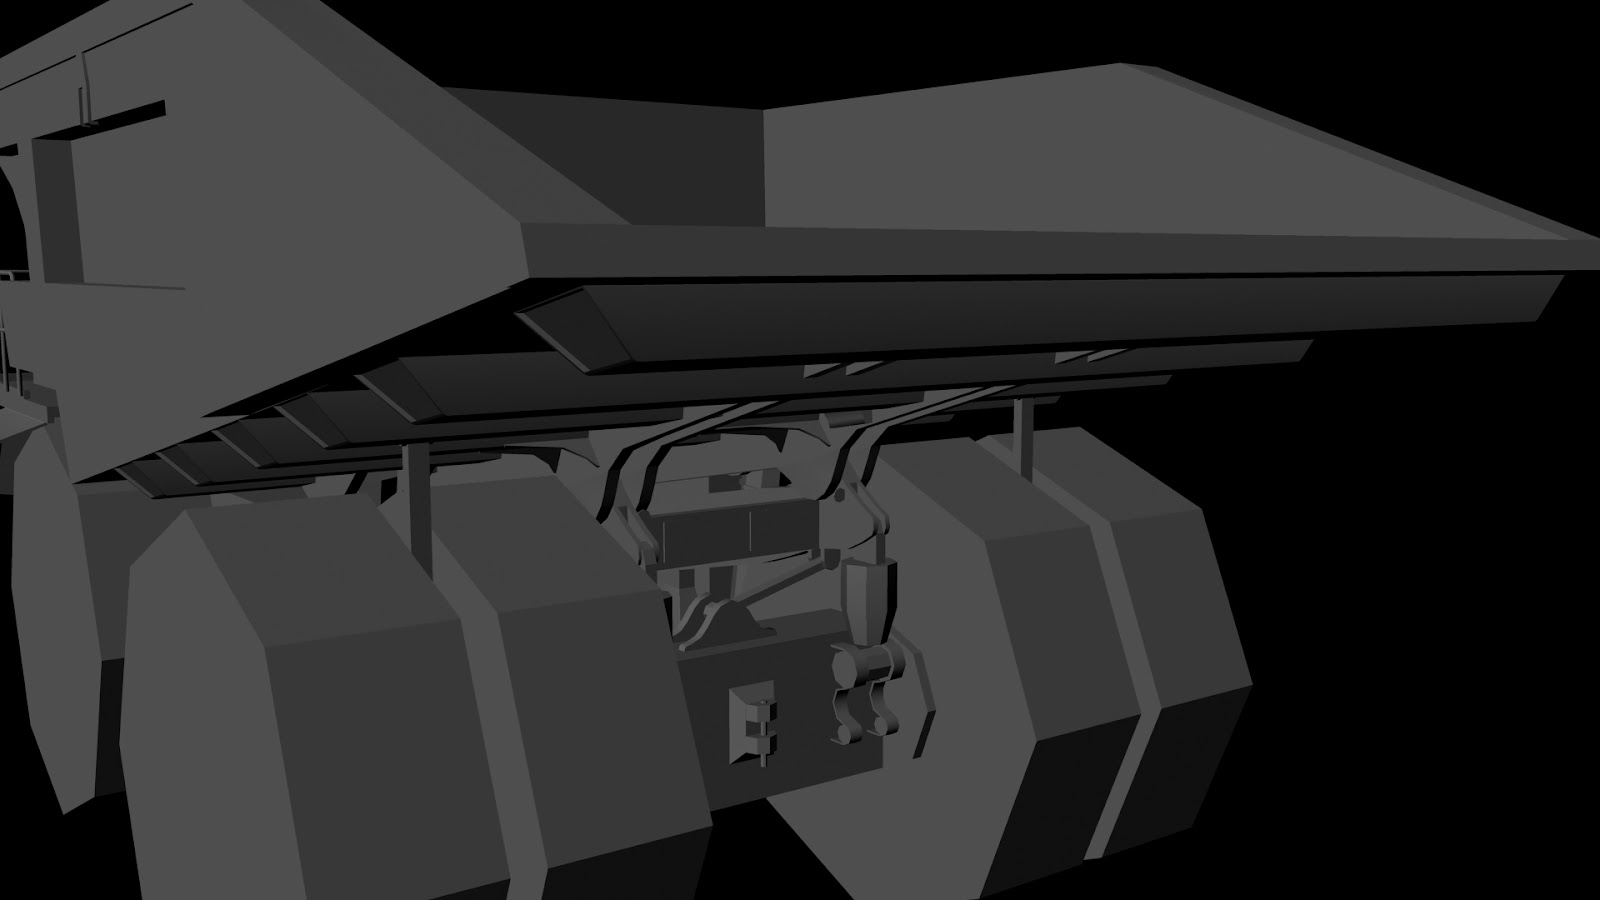
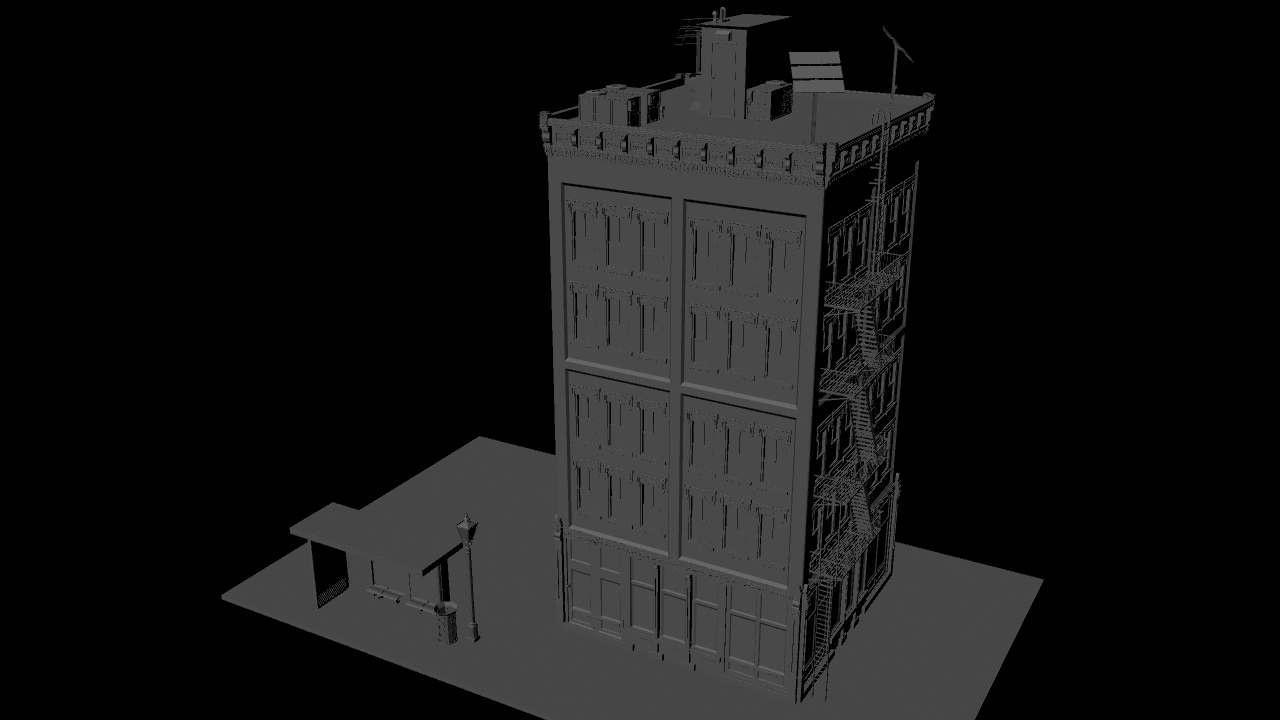
As of late, I've started to dive into the digital stuff.  Last term I took Hard Surface Modeling 1, Texture Mapping 1 and Photoshop for Digital Production.  I will be posting my Hard Surface final to my blog soon I hope.  I will also be posting it to the polycount forums and will try to become more active there too!  This term?  Right as I'm typing this?  I'm taking Digital Sculpting (once called Intro to ZBrush), Texture Painting and Intro to Unreal!

Now I shall stop blabbering and let you return to your day!